

Zerosquare
-
Posts
2,138 -
Joined
-
Last visited
-
Days Won
5
Recent Profile Visitors
5,609 profile views


Zerosquare's Achievements
")


-
Since someone asked me if it was possible to use Atari ST joysticks on the Jag, I made a simple adapter Here's the pinout : Male Sub-D 9 Male Sub-D 15 connector high density connector (Joystick side) (Jaguar side) 1 (Up) 14 (J8) 2 (Down) 13 (J9) 3 (Left) 12 (J10) 4 (Right) 11 (J11) 6 (Button) 10 (B1) 8 (Ground) 4 (J0) Can't test it since I don't have any Atari joystick, but it should work fine. The button on the joystick is mapped to the A button on the standard Jag controller (using another button would have required a more complicated adapter). Note : this will only work with "dumb" joystick/gamepads. Anything more evolved (controllers with turbo features, Sega Master System/Mega Drive controllers, etc.) will not work correctly. Now it's up to you to create joystick-friendly games
-
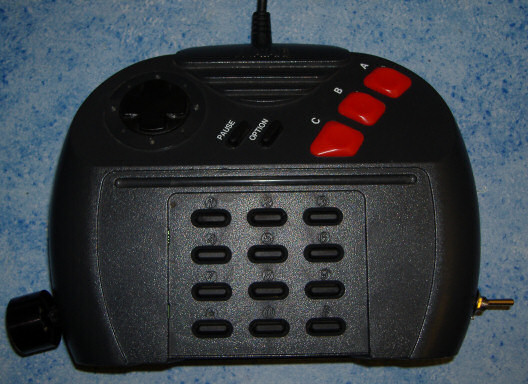
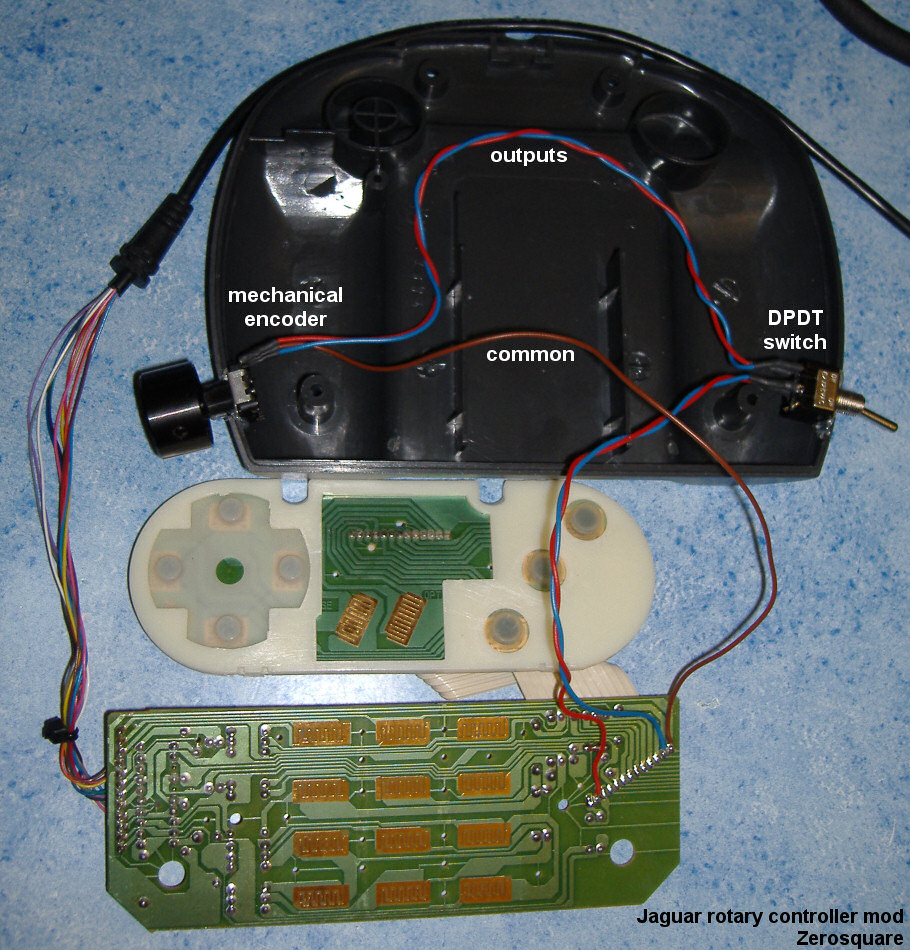
Several games on the Jaguar are more fun to play if you have a rotary controller (there's Tempest 2000 of course, but also Kobayashi Maru by Reboot for example). Here's a little tutorial to build one from a standard Jaguar controller, without losing the ability to use the D-pad for "normal" games. What you need : - a standard Jaguar controller, obviously - a mechanical encoder, preferably without detents (i.e. that rotates freely without "clicks"). The number of steps per revolution will determine how sensitive the knob is ; 24 to 36 steps is fine. - a knob to put on top of the encoder - a DPDT switch. It will be used to switch between "normal" and "rotary" mode. - some wires, a soldering iron with solder, some heatshrinking tubing if you want to be neat The encoder, knob and DPDT switch are not very expensive ; I paid 5€ (about $6.50) for all three. The first step is of course to take your controller apart. The screws are hidden under round, adhesive pieces of rubber ; lift them gently with a screwdriver. Then pretty much everything you need to do is summed up in this picture : Before closing the controller, check that everything is working fine. If the rotary part works backwards, swap the outputs of the encoder. And this is how the result looks like :


-
(old posts are there, I chose to create a new topic to have a central location for download and comments) I've just updated my modified version of Bastian Schick's and friends BJL uploader program, called lo_inp, which supports Windows NT/2000/XP. Support for Linux has been (re)-added (by special request from SebRmv , and minor tweaks have been made. Enjoy, and please give feedback ! lo_inp.zip
-
Here's a little idea I had to circumvent the Jaguar's UART bug. The ZIP file contains a detailed description and a demo program (the source code is included). Enjoy ! TestUART.zip